Editor
The Storyfall editor helps you write your interactive story. Scenes are the core building blocks where your story happens - each scene is a page with narrative content and choices.
Tip: The first time you open the editor, a built-in guided tutorial highlights the key features step by step. If you skipped it or want a refresher, this page covers everything in detail.
Scenes
Scenes are individual pages of your story. Each scene contains the actual narrative content, choices, and interactive elements.
Creating Scenes
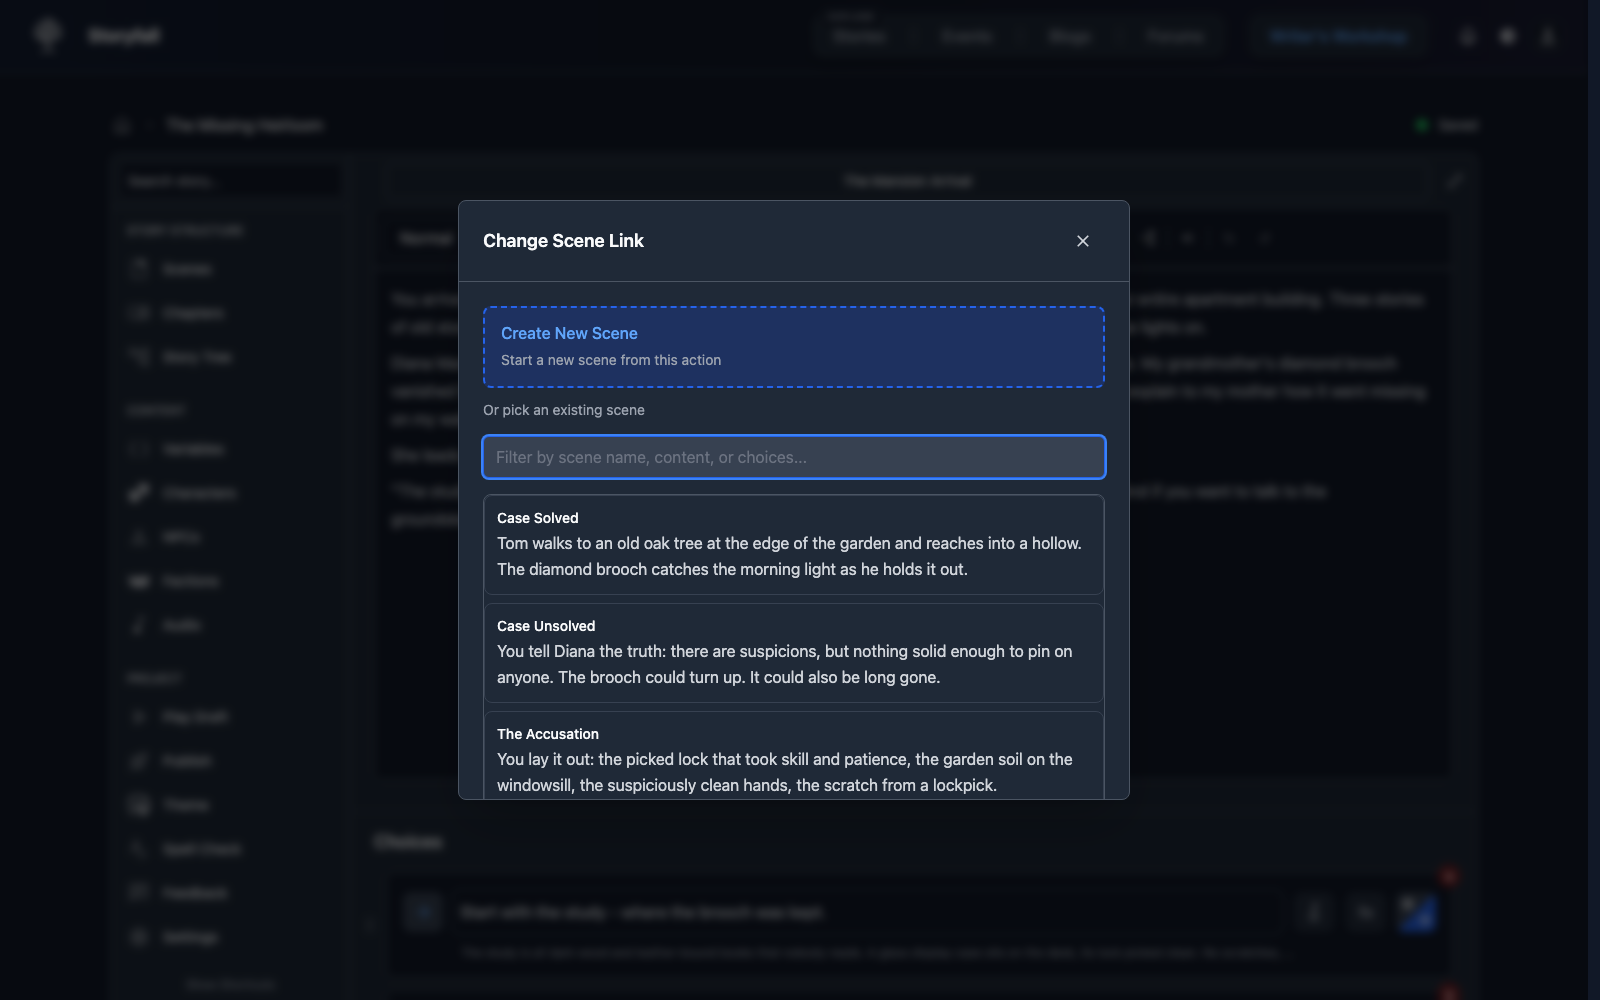
- Add a choice in an existing scene.
- Click the arrow button next to the choice text.
![]()
- In the modal, click “Create New Scene”.
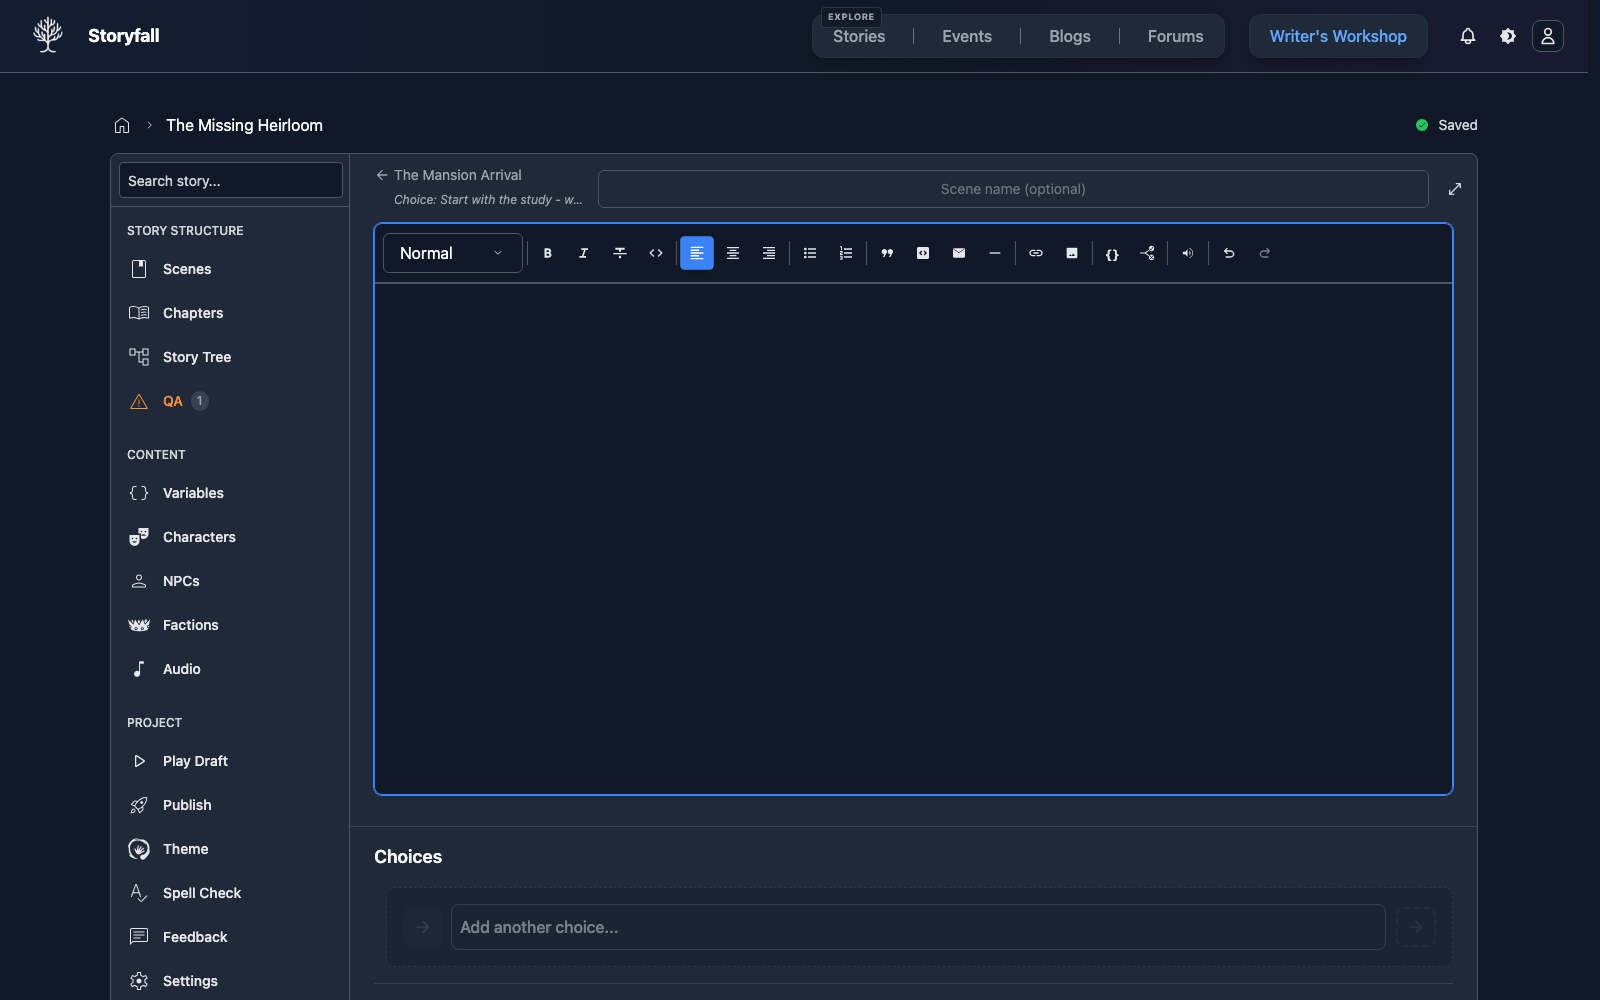
- Write your scene content using the rich text editor.
- Organize scenes with chapters (optional - see Chapters).
Scene Anatomy
Each scene can include:
Content
- Rich text narrative.
- Variables and conditional text.
- Character dialogue.
- Descriptions.
Choices
- Reader decisions.
- Navigation options.
- Conditional choices based on variables.
- Basic text formatting - select text in a choice to get a hover menu with bold, italic, and strikethrough.
Effects
- Variable modifications.
- Story state changes.
Deleting Scenes
Deleting a scene removes only that scene. Scenes it connected to stay in your story as unreachable or orphaned scenes, so you can reconnect them later instead of losing a whole branch by accident.
If another scene linked to the deleted scene, that link is removed from the surviving scene. Open the QA panel to find unreachable scenes and decide what to reconnect or clean up.
Scene Types
Story Scenes
Standard narrative scenes with choices and branching paths.
Hub Scenes
Central locations readers return to frequently. Examples:
- Town centers.
- Character menus.
- Inventory screens (though you can also encourage users to check their stats page).
Terminal Scenes
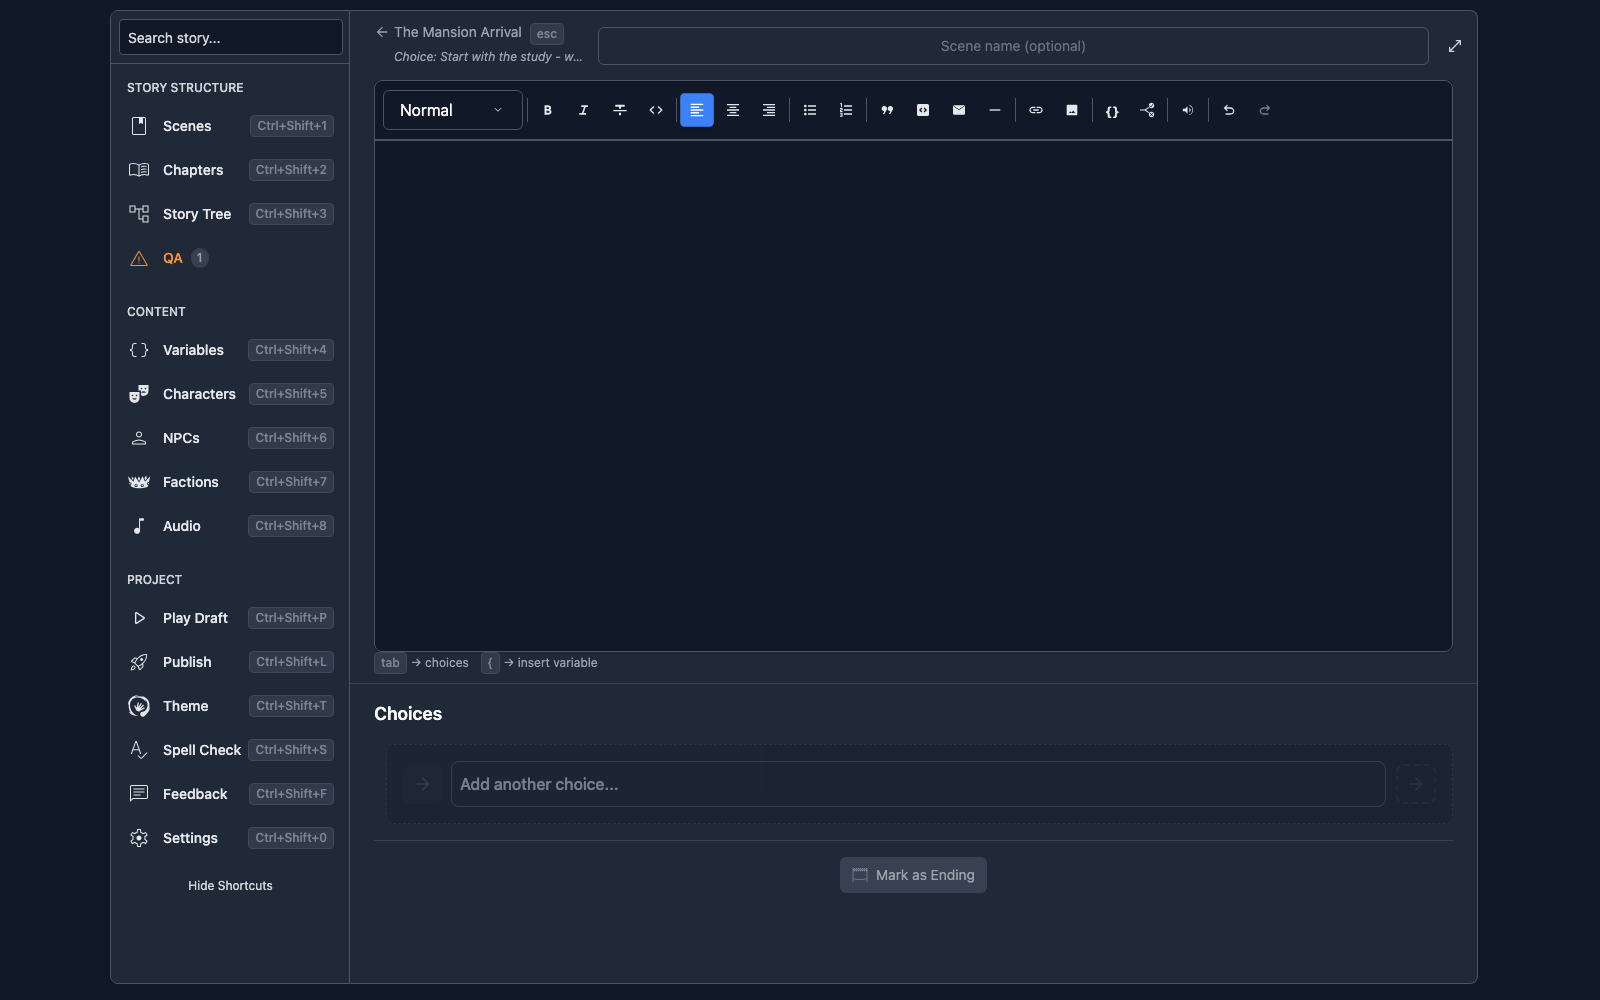
Ending scenes with no outgoing choices. These represent story conclusions.
Checkpoint Scenes
Mark a scene as a checkpoint to give readers a one-click way back to it later. When a reader enters a checkpoint scene during play, Storyfall automatically saves their progress at that point. The save appears in the reader’s in-game Save modal and at the top of their Journal alongside any saves they made manually.
To toggle the checkpoint flag, click the Checkpoint button in the scene editor toolbar, on the same row as the Sync Point button. Checkpoint is available on every scene, not just coop. Use it to mark natural recovery points: just before a difficult choice, the start of a new dungeon, a turning point readers might want to revisit, or wherever players might restart.
Chapter starting scenes are checkpoints automatically. You don’t need to flag the first scene of a chapter; readers get a chapter save as soon as they cross into it.
Ending name
When a scene is marked as an ending, an “Ending name (optional)” input appears below the Mark as Ending button. The value you set here becomes the heading readers see on the ending screen, on their journal badge for this ending, and in the exported HTML.
Display priority for the ending heading:
- Ending name (set here).
- Scene name (your internal label).
- Nothing (the generic “Story Complete” message stays).
The ending name is preserved when you unmark a scene as ending. Re-marking the scene later restores the title without re-typing.
You can also rename the ending name from the Code Editor sidebar: ending scenes show a finish-line icon and a second muted line under the file name. Click that line to edit.
Rich Text Editor
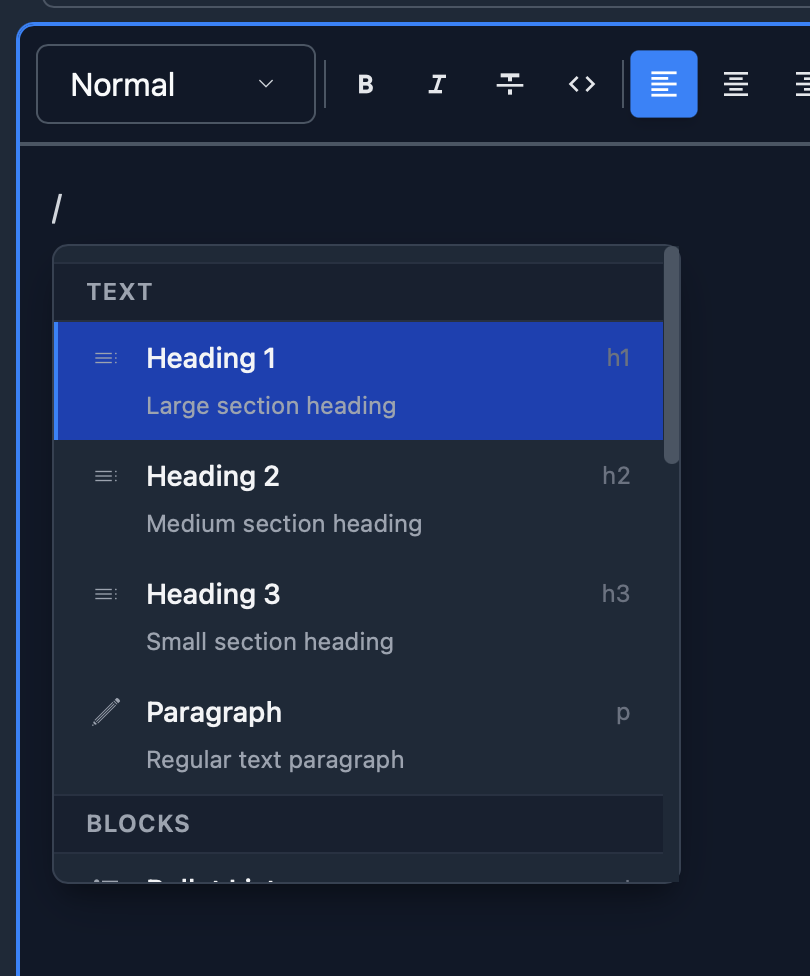
The scene editor supports a full range of formatting and embeds. Use the toolbar at the top or type / at the start of a line to open a command palette for quickly inserting block types, conditional blocks, and more.
Text Formatting
- Bold (
Ctrl/Cmd+B). - Italic (
Ctrl/Cmd+I). - Strikethrough.
- Inline code.
- Links (
Ctrl/Cmd+K).
Block Types
- Headings (H1 through H4).
- Bullet lists.
- Numbered lists.
- Blockquotes.
- Code blocks with syntax highlighting.
- Message blocks - theme-aware text blocks for in-story emails, letters, terminal output, and notes. Type msg or message after opening a code block to convert it, or use
Ctrl/Cmd+Shift+M. - Horizontal rules (divider lines).
Embeds
- Images - Upload from your device, drag and drop, or paste from clipboard. Supports JPEG, PNG, WebP, and GIF (10MB max). Images have a caption, alignment (left, center, right), text wrapping, and resizing.
- Sound effects - Insert audio from your story’s audio library inline in scene text. Type
@to insert. You can control volume and pause the typewriter effect during playback.
Storyfall-Specific Features
- Variables - Type
{to insert a variable, NPC, faction, or character inline in your text. They display as styled badges that can show the current value, conditional text (e.g.{gold > 10: "You are rich."}), or the avatar/image representing the entity. - Conditional blocks - Type
/ifto wrap content in a condition. Only readers who meet the condition see the content. Think of them as a more advanced version of conditional variables - they can nest other content inside, including images, other variables, or even nested conditional blocks. Supports custom variables, system variables, NPCs, factions, and character checks. You can combine multiple conditions with AND/OR for complex logic (e.g. show a paragraph only whengold > 50 AND hasKey = true). - Text windows - Select a word or phrase and use the text window button in the toolbar or hover menu, or type
/popup, to create inline explanatory text. Readers see the selected label in the current scene. Clicking, tapping, or focusing it opens a modal with the extra text without changing scenes or advancing Visual Novel dialogue. - Text variations - Define multiple text alternatives that change on each visit. Use the variation builder in the variable menu to create them. You can also combine variations with conditions so the text only appears when a condition is met. Three types are available:
- Random - picks a different option each visit, but stays consistent within the same scene render.
- Random Once - locks to one option on the first encounter and stays the same for the rest of the playthrough.
- Cycle - goes through options in order on each successive visit.
- Text alignment - Align paragraphs and headings left, center, or right.
Editor Features
- Auto-save - your work is saved automatically as you type. During a normal save the status moves from Saving… to Saved. If a save fails, Storyfall keeps the latest unsynced draft in this browser so you can retry or recover it.
- Undo/Redo with full history.
- Scene History - revisions are created automatically when you edit a scene and navigate away. Open the History panel in the sidebar (or press
Ctrl+Shift+H) to view word-level diffs, see who made each change, and restore any previous version. - Backups - Storyfall creates private nightly backups when your draft changes. Open Settings > Backups to create one manual backup per day, review recent backups, and restore a full draft.
- Markdown shortcuts -
**bold**,*italic*,`code`, and more work as you type. - Drag and drop for images.
Auto-save Recovery
- If a save fails, Storyfall keeps the latest unsynced draft on your device and retries when the editor reconnects, reloads, or returns to the foreground.
- If you move to another scene while offline, Storyfall remembers that scene for your signed-in account in this browser. On reload, recovery returns you there when the scene still exists or is restored from the local draft.
- Click Save failed to retry immediately. If Storyfall has already found a conflict, click Review needed to reopen Unsynced Editor Changes.
- If the server version changed before your local draft can be saved, Storyfall opens Unsynced Editor Changes. The local draft appears on the left and the server version appears on the right.
- Review each conflict. A conflict can be scene text, choices, or other story data. Pick Keep Local, Keep Server, or Merge Both when Merge Both is available. You can choose a different option for each scene or item.
- Click Save Selected Versions to save the choices you made. Use Use Local for All or Use Server for All only when you want one choice for every conflict.
- If you close Unsynced Editor Changes and keep editing, the next save may replace the unresolved local conflicting changes with what is currently visible in the editor.
- If you sign out while this browser has unsynced editor changes, Storyfall asks before removing those local drafts from the device. Staying signed in leaves them available for retry.
Choice Formatting
Choices support basic text formatting. Select text in a choice to get a hover menu with bold, italic, and strikethrough.
Editing a Scene as Code
Click “Code Editor” below the scene to open a full-screen modal that shows the entire scene as editable text: body, on-enter effects, and every choice. Useful when you want to make many structural edits at once (renaming ten effects, re-ordering choice conditions, pasting a block of text with inline variable refs) without clicking through panels.
See the dedicated Code Editor docs for the full grammar reference, error handling, and examples.
Keyboard Navigation
The editor supports full keyboard navigation. You can toggle a visual shortcuts overlay by clicking “Show Shortcuts” in the sidebar.
Scene and Choice Navigation
| Key | Action |
|---|---|
| Tab | From the scene editor, jump to the first choice. Between choices, move to the next one. |
| Shift+Tab | Move to the previous choice or back to the scene. |
| Enter | Open the scene link modal to create a new scene or link to an existing one. If the choice is already linked, navigate to that scene. |
| Escape | Go back up a level - close an open modal or panel, unfocus a choice, or return to the parent scene. |
| Backspace | Delete an empty choice. |
Choice Editing
| Key | Action |
|---|---|
| Ctrl+T | Toggle the choice type dropdown. |
| Ctrl+I | Toggle the conditions editor. |
| Ctrl+E | Toggle the effects editor. |
| Shift+Enter | Insert a new paragraph in the choice text. |
| Arrow Up/Down | Navigate options in the choice type dropdown. |
General
| Key | Action |
|---|---|
| Ctrl+Shift+F or ⌘+Shift+F | Toggle immersive mode. |
| Ctrl+Shift+H or ⌘+Shift+H | Open the Scene History panel. |
{ | Insert a variable, NPC, or faction. |
| @ | Insert a sound effect. |
Typical Flow
A common keyboard-only workflow: write your scene text, hit Tab to jump to a choice, type the choice text, press Enter to open the link modal, then Enter again to create a new scene. From the new scene, Escape takes you back to the parent.
Organizing Your Story
Linear Structure
Scene 1 → Scene 2 → Scene 3 → Scene 4Simple progression, one path forward. Good for:
- Tutorial sections.
- Prologue sequences.
- Tightly controlled narrative moments.
Branching Structure
              ┌→ Scene 2 ┐
Scene 1 ──────┤          ├→ Scene 4
              └→ Scene 3 ┘
Multiple paths that may converge. Good for:
- Choice-driven narratives.
- Character customization.
- Exploring different perspectives.
Hub Structure
    ┌→ Scene 2 ┐
    ├→ Scene 3 ┤
Hub ┤          ├→ Hub
    ├→ Scene 4 ┤
    └→ Scene 5 ┘
Central location with multiple branches that return. Good for:
- Open-world exploration.
- Quest selection.
- Time management systems.
Parallel Paths
              ┌→ Scene 1A → Scene 2A → Scene 3A
Scene 1 ──────┤
              └→ Scene 1B → Scene 2B → Scene 3B
Completely separate storylines based on early choices. Good for:
- Diverging character stories.
- Faction-based narratives.
- Drastically different playstyles.
Scene Management
Naming Scenes
Scene names are optional. Search works across all text in scenes and choices regardless of whether you’ve named them. But clear names can help you navigate your story during editing:
village_arrival- descriptive and clear.marcus_confrontation- indicates the scene’s purpose.forest_ambush- easy to find while editing.scene_42- avoid generic names like this.
Readers may see a scene’s name when that scene appears as a chapter direct-start option or as an ending they have reached, so avoid private notes in those names.
Connecting Scenes
Creating Choice Paths
When adding a choice to a scene:
- Write the choice text.
- Create the destination scene or select an existing one.
- Add any conditions or effects.
- Test the connection.
Avoiding Dead Ends
Every scene should either:
- Have outgoing choices, OR
- Be an intentional ending.
Tools & Tips
Story Tree
Use the Story Tree to:
- See story structure at a glance.
- Identify isolated scenes.
- Visualize branching complexity.
On phones and tablets, pinch with two fingers in the editor to open the Story Tree centered on your current scene. Tap any scene node to return to editing that scene. The sidebar Story Tree button is still available when you want it.
Search
Use search to find all scenes mentioning:
- Specific characters.
- Variables.
- Key terms.
Translations
The sidebar includes a Translations panel (globe icon) where you can add translations for your story in other languages. See Languages & Translations for details on translating scenes, using auto translation, and managing multiple languages.
Next Steps
- Variables & Conditions - Add dynamic content to your scenes.
- Characters - Create playable protagonist templates.
- Input Choices - Collect text input from players.
- Languages & Translations - Translate your story into other languages.
- Publishing Your Story - Share your completed work.